A Guide to Extracting Hardsubs in Photoshop and Creating Masks for Vapoursynth

I’ve been keeping myself busy with fansubbing as an hobby to distract from the dire state of things in [Current Year].
I needed to create a mask while video filtering to preserve it from damage. I didn’t have a version of the video without the hardsubbed sign so I couldn’t use std.MakeDiff. I struggled to get good enough mask just using Vapoursynth, so I did it like this.
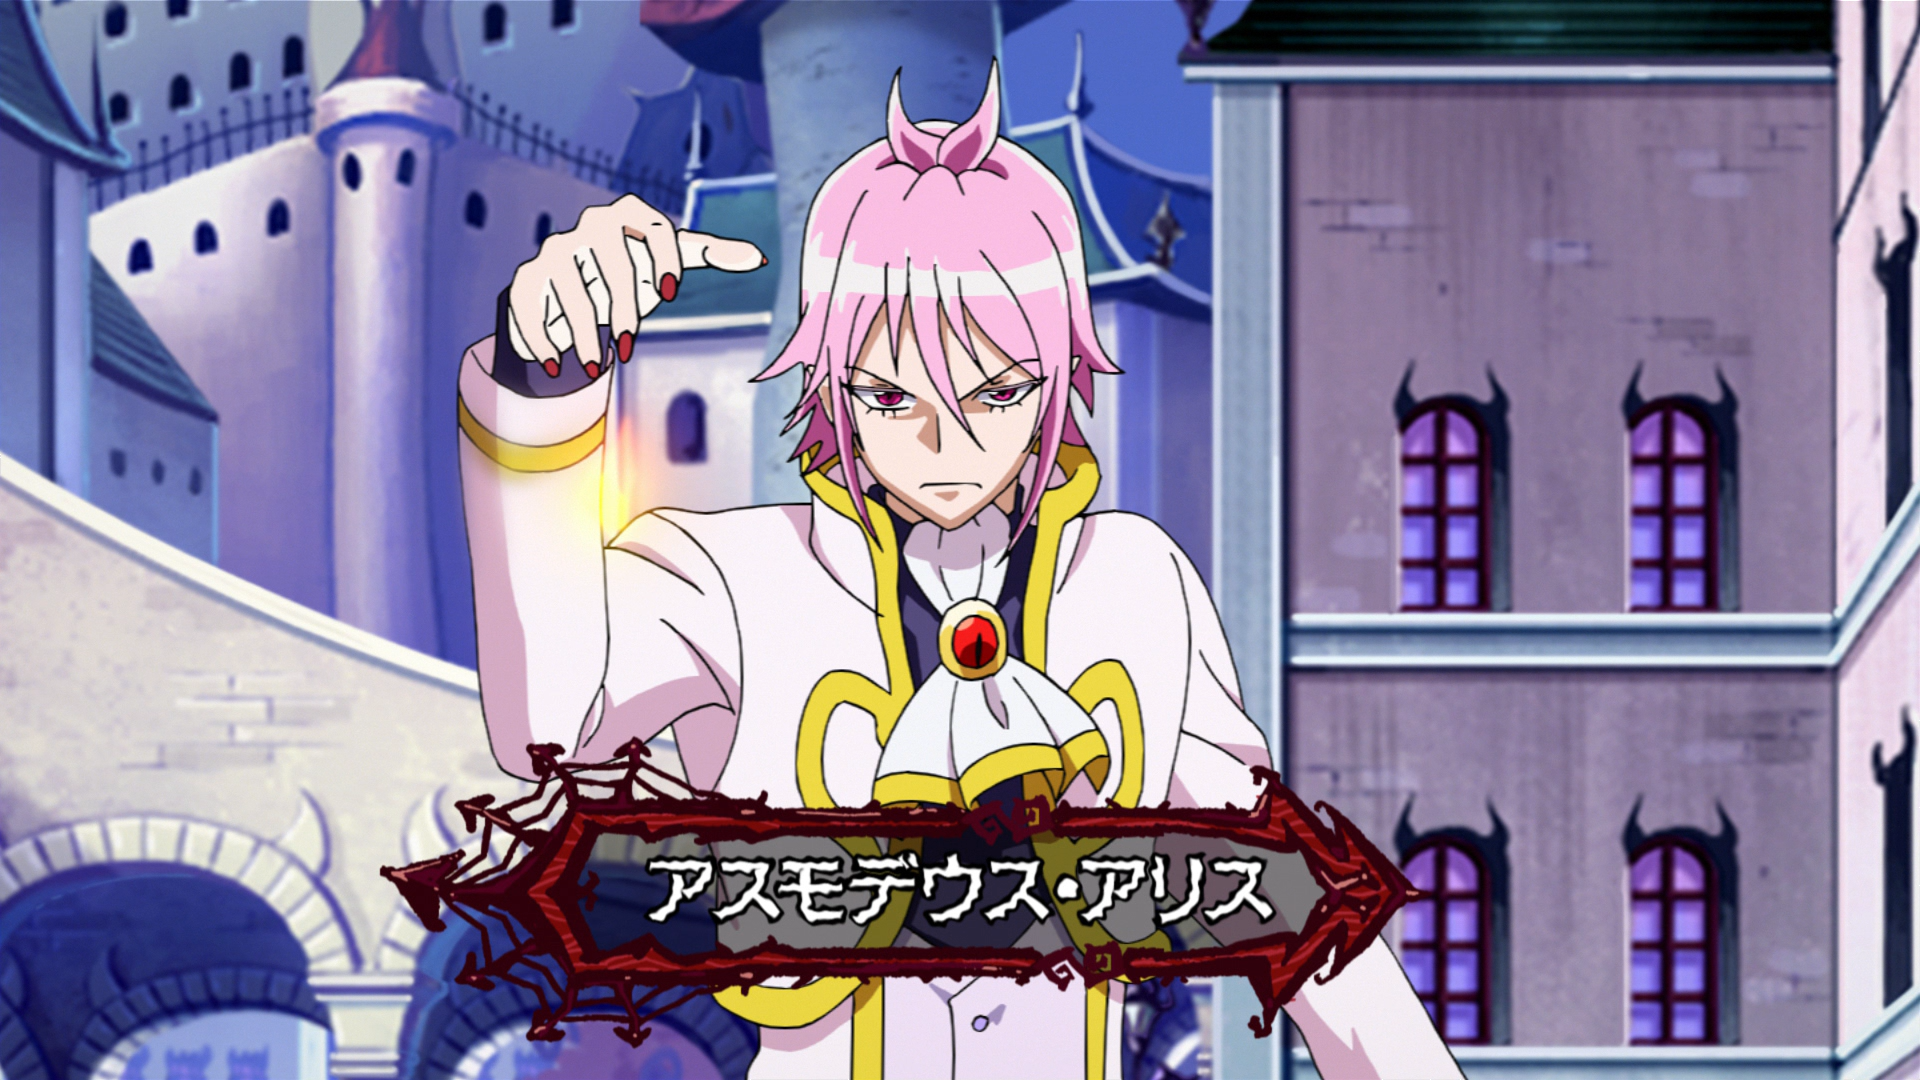
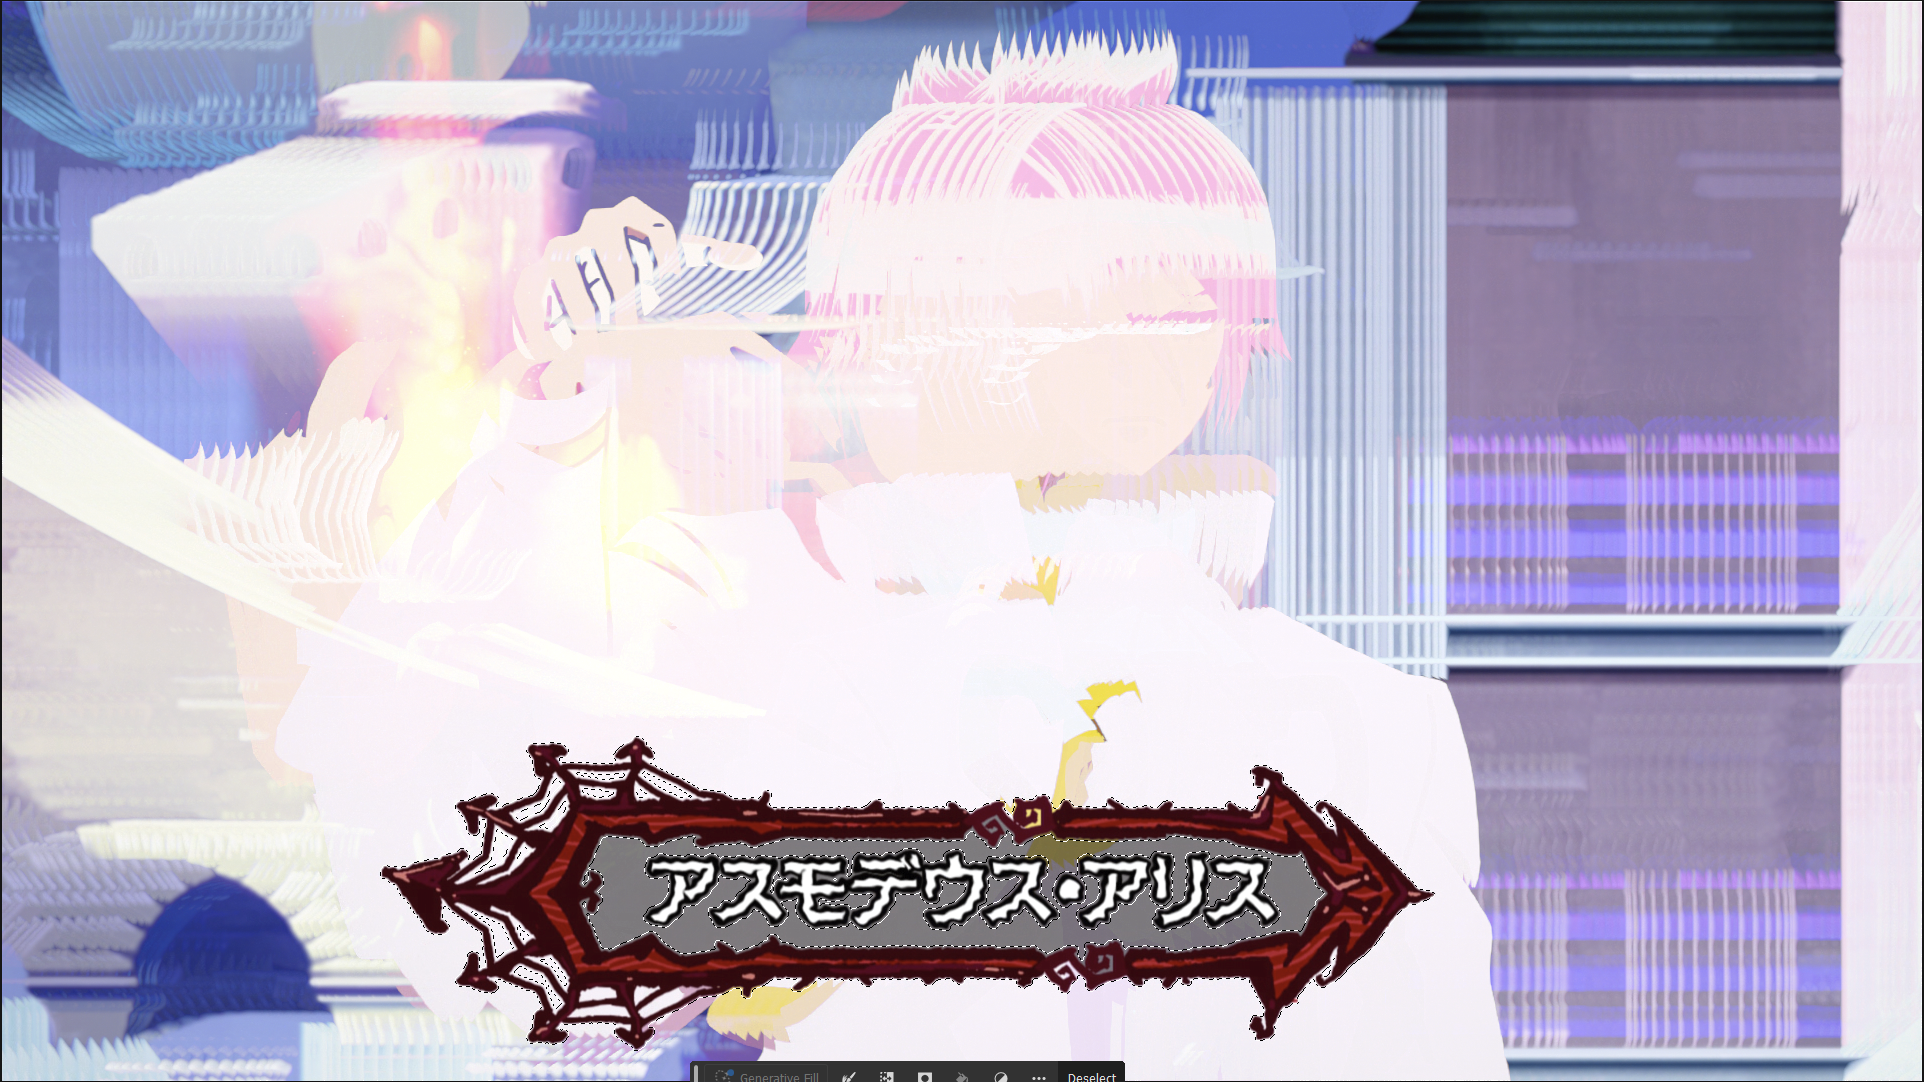
So as an example here is the sign I want to extract:
Step 1: Export frames of the sign you want to extract#
I used Mikewando/vsfpng and dump_frames.py. This script requires the vsfpng plugin and Vapoursynth. Feel free to use whatever tool you are comfortable with, just make sure to get as many frames of the as possible and store them in a folder.
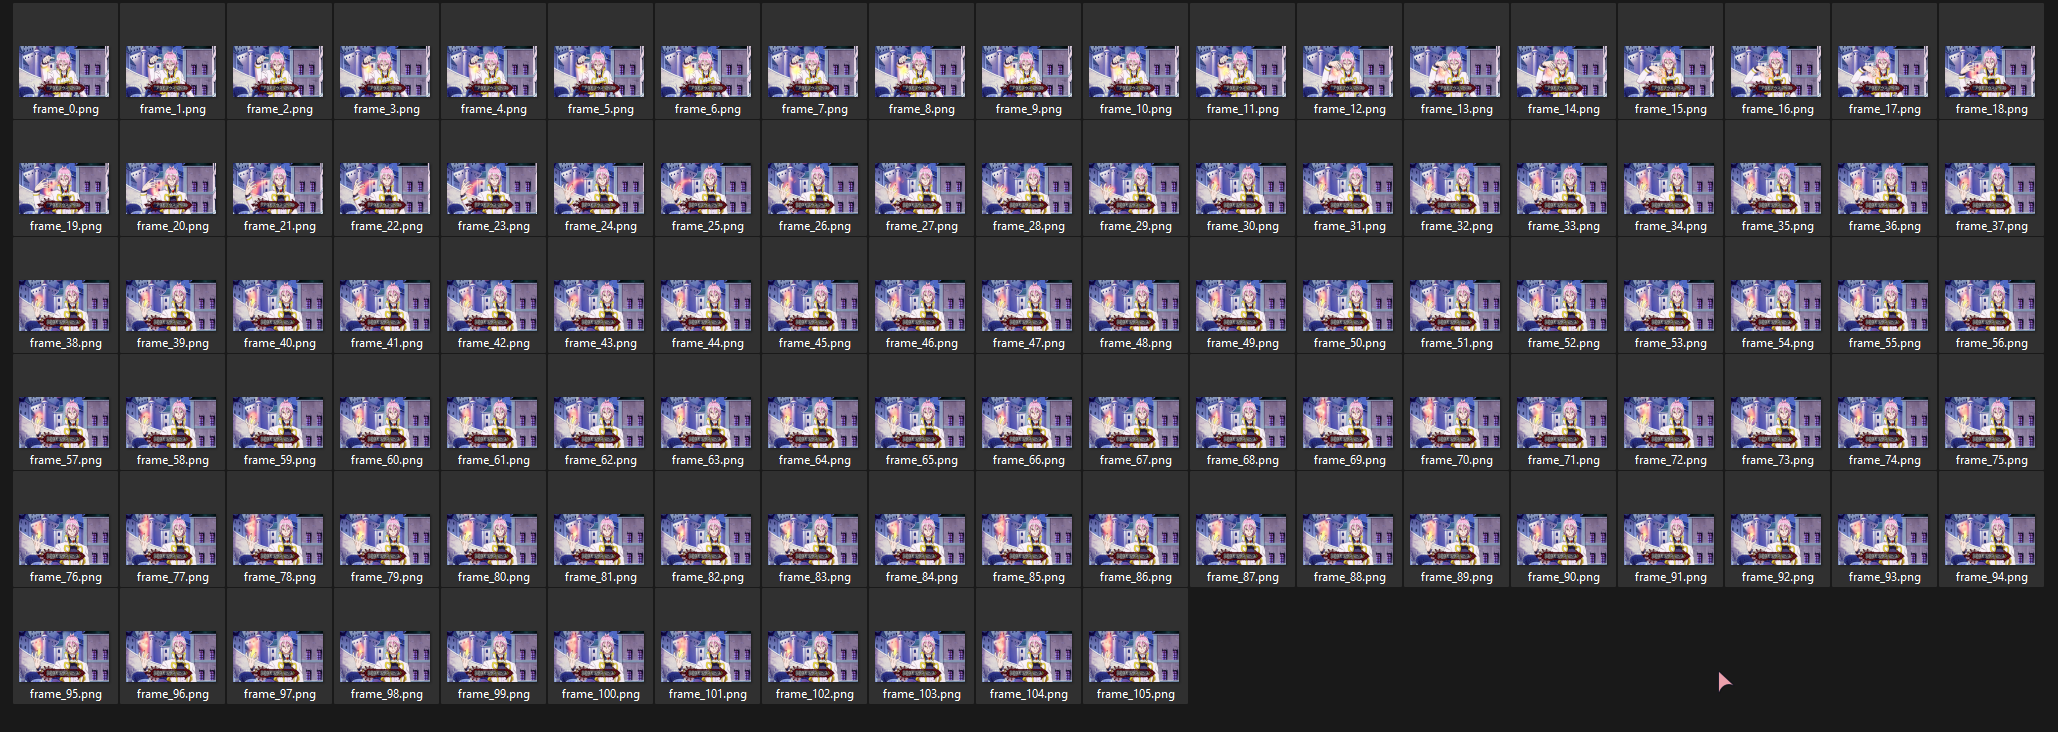
Step 2: Import frames into Photoshop as individual layers#
You can do this manually via drag ’n’ drop, however as you can see above we have a lot of frames and it would be tedious. Luckily there is a way to import them as a batch.
- Go to File > Scripts > Load Files into Stack
- Set Use to Folder
- Click Browse and select the folder of your frames and then click Select Folder and then OK
Now depending on how many frames, this will take a while and consume a lot of RAM. If you’re struggling to follow the the bullet points, this guidearchive breaks it down further and with images.
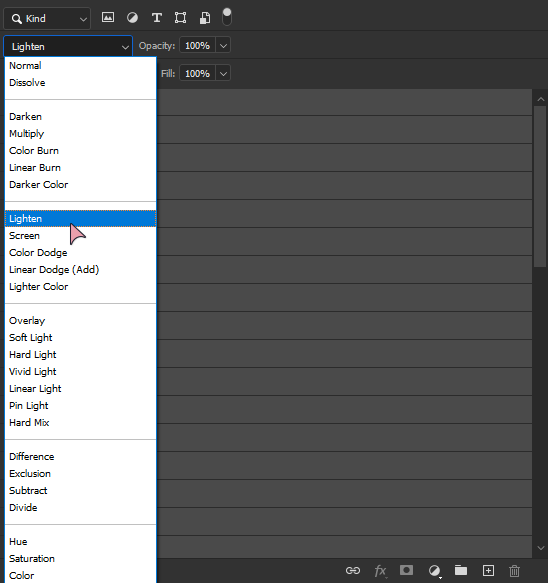
Step 3: Change all layers’ blend mode to Lighten or Darken#
Select all the layers and change the blend mode to Lighten or Darken. You can try other modes and see. I think Darken and Lighten are the best options depending on your sign.
After that you should have something like this.
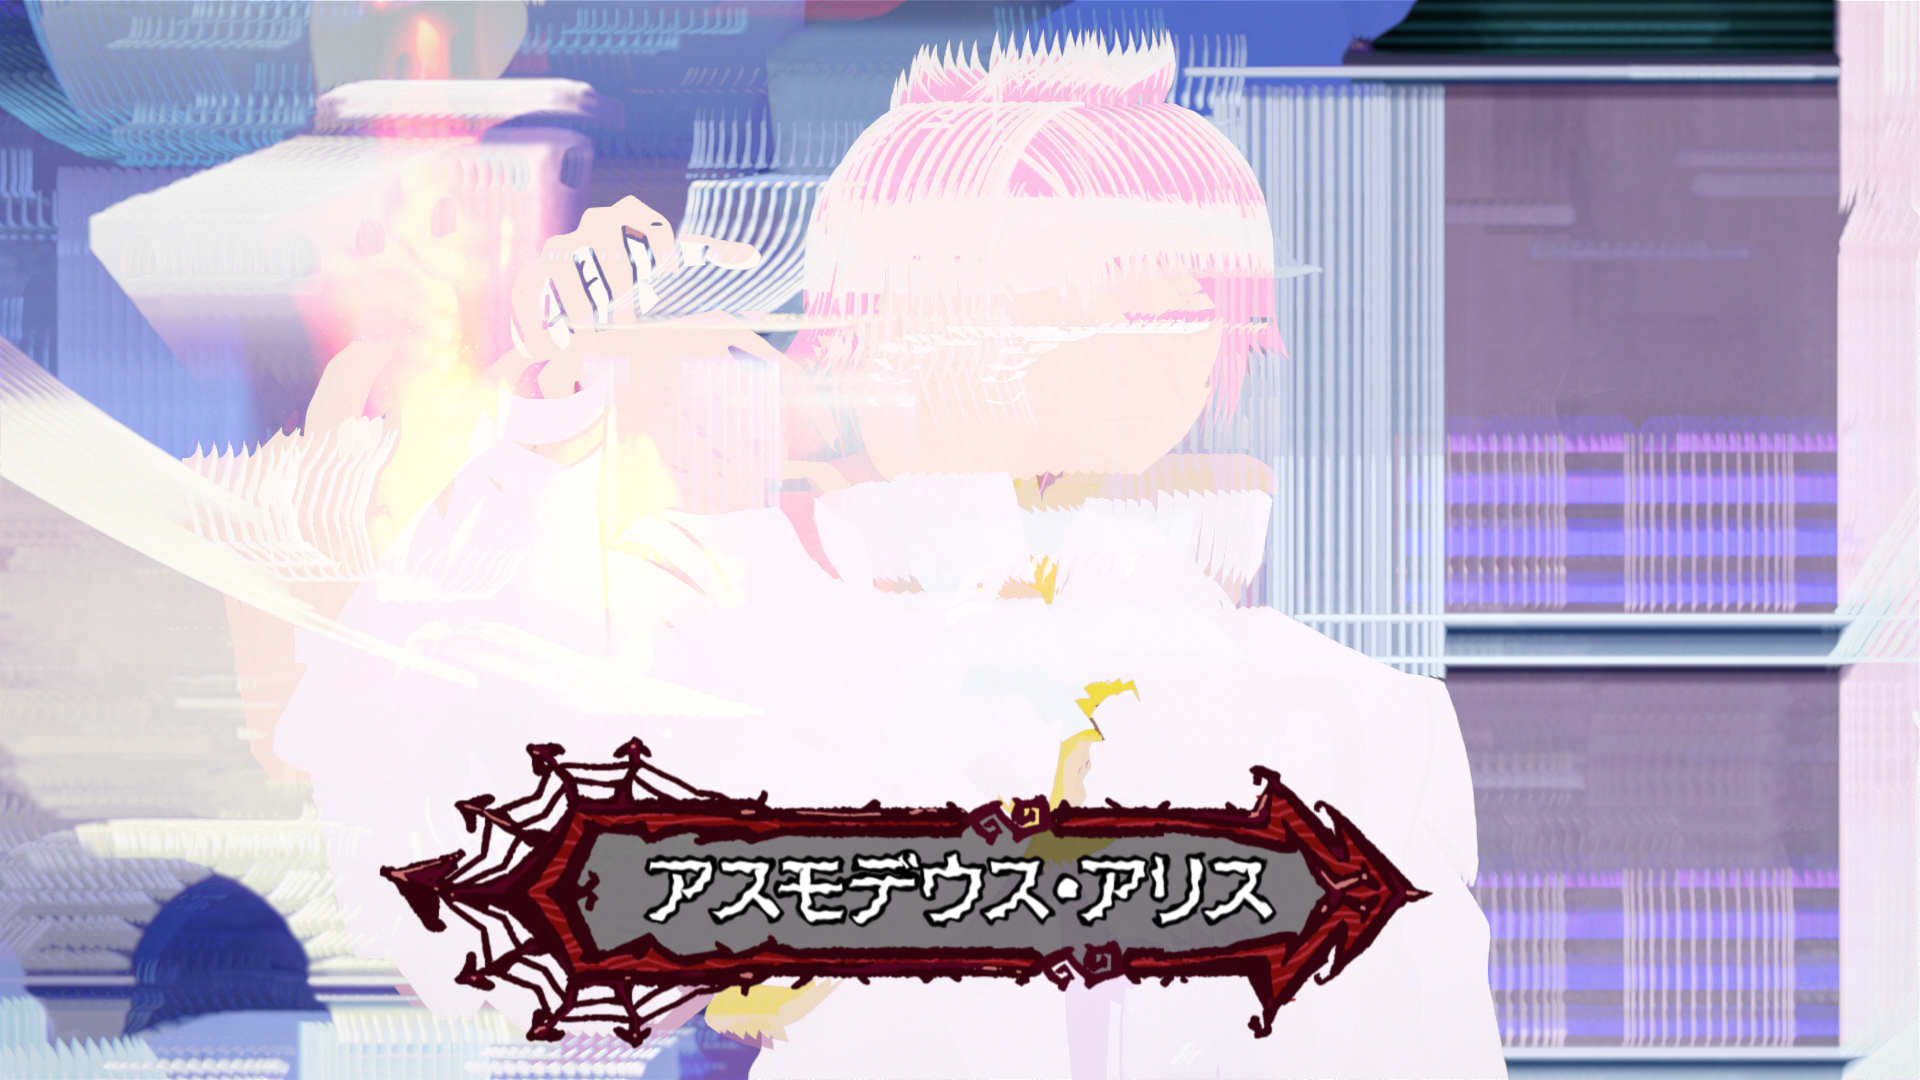
At this point I recommend merging the layers and saving to free your RAM. You might need to relaunch Photoshop to fully free the RAM
Step 4: Use the Magic Wand Tool(W) to select the sign#
- Either hold Shift or select the Add to Selection button on the Magic Wand toolbar.
- Select everything but the sign and the translucent part of the sign.
- Invert the selection. (Click Select > Inverse).
- Expand the selection. (Click Select > Modify > Expand). I usually do 2 pixels, you may need more or less depending on your use case.
Now you should have something that looks similar to this
Step 5: Convert to B&W Mask and export#
- DO NOT deselect.
- Create a New Layer.
- Invert the selection
- Fill with Black
- Invert the selection
- Fill with White
- Duplicate the B&W layer to a new file.
- Convert new file to Grayscale 16 bit. (Click Image > Mode > Grayscale & 16 Bits/Channel)
- Save the previous Photoshop file and save the new one as a PNG
.png
Voila! You have a mask ready to use with Vapoursynth’s std.MaskedMerge()

A Guide to Extracting Hardsubs in Photoshop and Creating Masks for Vapoursynth by Shash Appan is marked CC0 1.0